Sometimes, time management is in the little things. Did you notice the time we lose on simple tasks like crop an image batch?
In this tutorial we’ll show you an easy trick to auto crop batch of images. Plus, cherry on the cake, we’ll show you how to automatically add them to a Google Drive.
Can you batch crop images?
Of course you can! Batch cropping images is as easy as it gets when using right batch image cropping tool. Thankfully, Abyssale is perfectly suited to that task. On top of that it connects to 1000+ tool sto allow you to batch crop images from anywhere and tsore them anywhere.
You may need to crop an image batch to create a nice presentations, resize pictures for Instagram or your blog… But resizing images of different sizes is a manual task, and all of us already wondered “ can we batch crop images?” The answer is yes! You can auto crop batch of images of the same Gdrive and save you some precious time :)
Batch crop images with Abyssale
You first have to design the easiest abyssale template possible, as your job here is just to resize your image in square. Here, we’ll simply create a frame the size of your the desired cropped images for Abyssale to resize all of them and crop them if needed.
- Log into Abyssale and create a new template
- Add a custom format to your template (we chose 1600x1600)
- Then you add an image layer and : name it
- Set the image fitting to “cover” (so that it will take all the space available)
- Set your image alignment with vertical and horizontal to center (so that it is always centered)
That’s it, Save & Exit !

If you just need to crop a batch of images once for a specific, we’ll use the batch image generation method directly inside Abyssale.
Upload your images to crop them
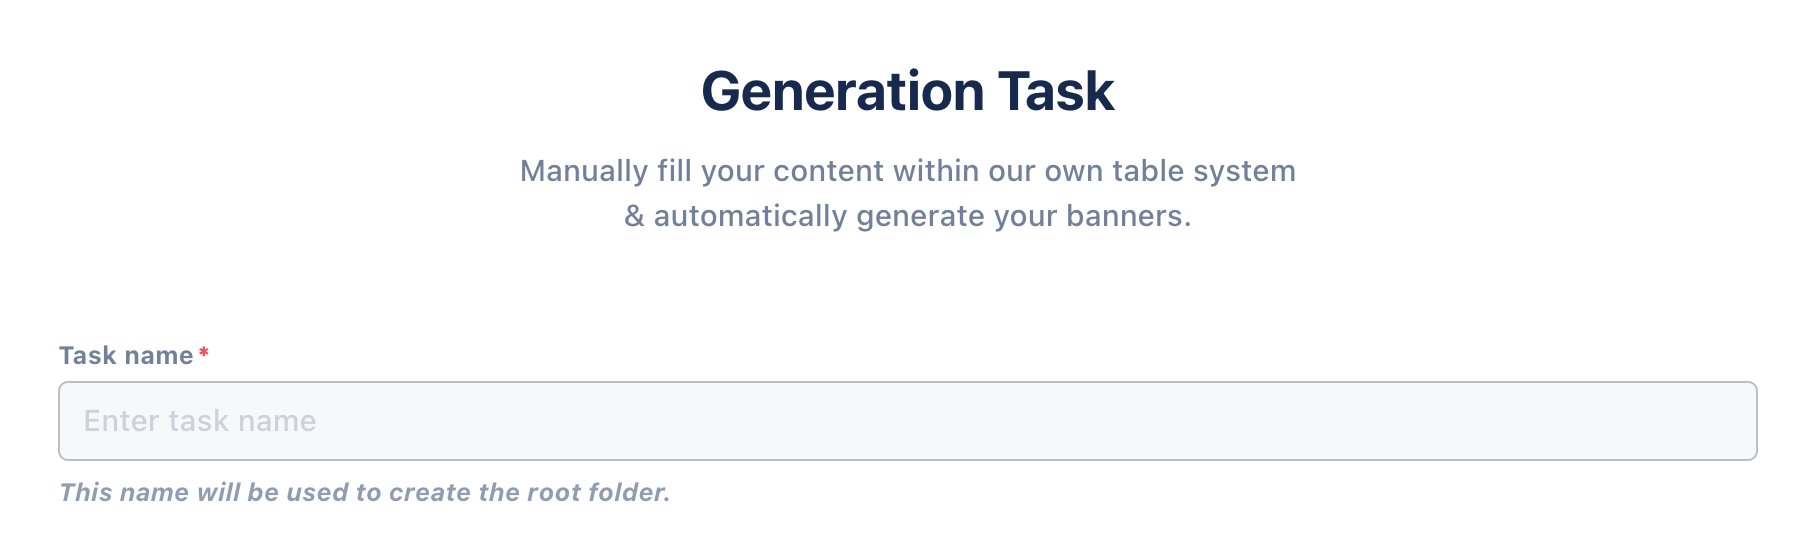
Once your template is saved and you’ve chosen the batch generation method, simply name your task. Something like “batch image cropping” we’ll do just fine.
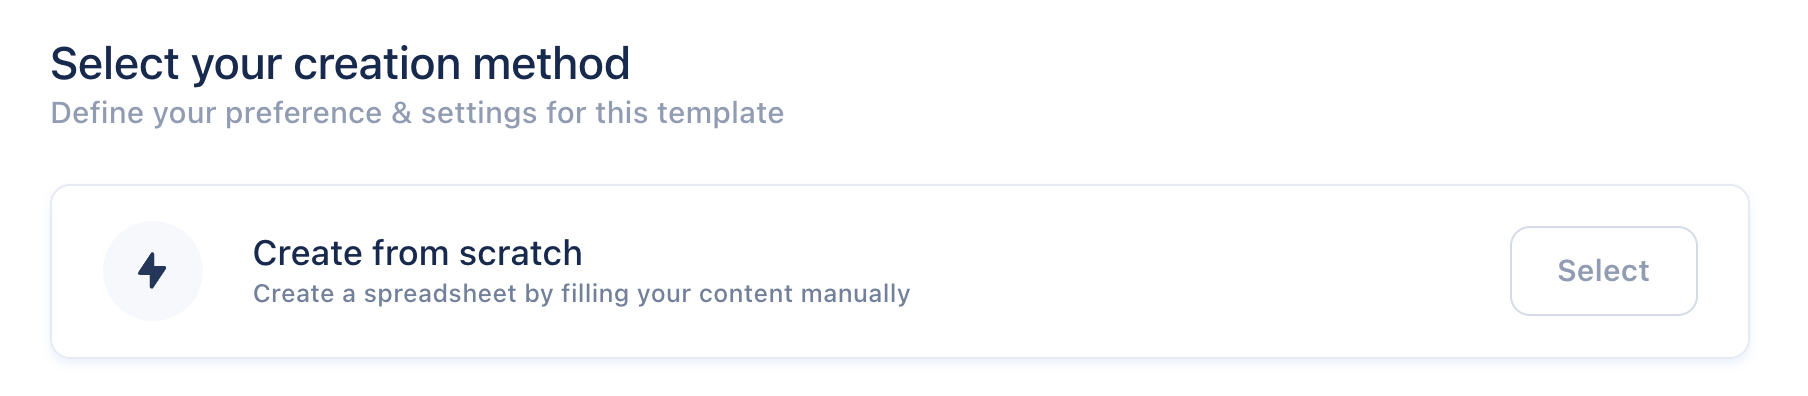
Then, select the create from scratch method. You could also choose the CSV file method to batch crop images from a CSV.
Right after that, you’ll be greeted by a spreadsheet where you’ll be able to upload all your images before cropping them. Just add a row for each image you want to crop.

Once you’re done uploading all of your images, hit “save and close”, start the image generation process and let Abyssale batch crop all of your images! Just go to your “Banners” panel and admire all of your cropped images.
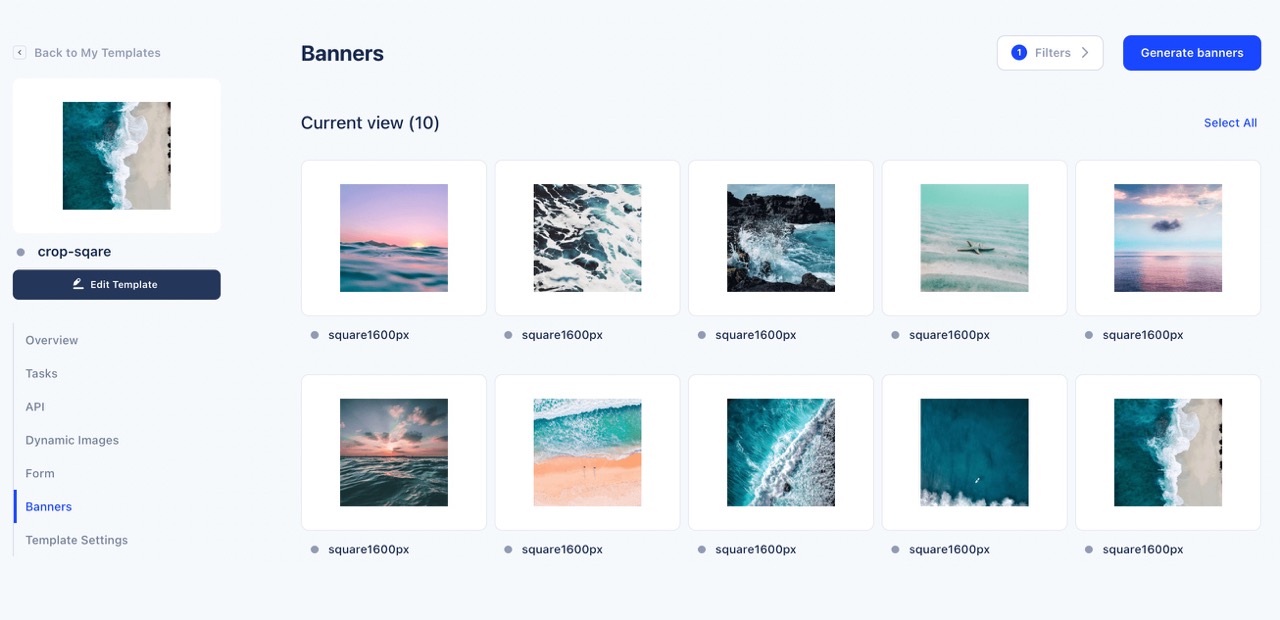
You can now either download them or copy their link to host them on your blog, email or whatever.
If you’re feeling fancy and want to completely automate the batch cropping of your images using Google Drive, stick around for the next part of this article.
Auto-batch crop images from Google Drive with Zapier
1. Create a Zapier automation
Remember the template we’ve created earlier?It will wome handy in this part. We will now create a Zapier scenario in which we will :
- Set a trigger to detect any new image in your Google Drive
- Connect it to the Abyssale template we just created to auto crop this image
- Then add this cropped image to a new Google Drive file !
Thus, it will be a 3 step scenario, simple & easy !
2. Watch files added to Google Drive
As we said, we have to create a trigger so that Zapier will look for any new file in your Google Drive :
- Log into your Zapier account and create a new zap.
- Then choose the app Google Drive and the event “New file” (Triggers when a new file is added of any folder)
- Next, you have to connect your Google drive account
- And finally choose the file and test the trigger

3. Generate a single image with Abyssale
Ok now that the trigger is set, let’s use our abyssale template, so that all our images will be automatically resized in square :
- Your second module is an Action module : Abyssale > Generate Single image
- Again you connect your account and choose your template
- Now you set up your action by first choosing the format (here square)
And matching your only layer : image (except for background of course)

4. Add cropped images back to Google Drive
Finally, we now have to put all our cropped images in an other folder :

- First, create a "cropped" folder inside your parent Google Drive folder
- New action module , again choose Upload file in Google Drive
- Choose your newly created folder and add the "Image CDN URL" of your Abyssale Image to the file field
- Test the action and turn your zap on
Tadaaaaa!!!!!! 🎉🎉🎉🎉🎉 Now that your zap is on, every time you add and image to your Google Drive folder, Abyssale will automatically crop it and upload it back to a "cropped" Google Drive folder.
If you liked this article, you may want to learn how to fill out a Google Sheet with generated images' URL.