We talk a lot about automating image creation and this can often seem complex and time-consuming to set up, but with the right tools, nothing is easier! Here we are about to show you how you can easily & automatically create images for your social media using abyssale, Make (formerly Integromat) and your so familiar Google sheets :)
Our Goal is to create several images for social media communication. We want our different images to promote different messages. For that, we will take the example of a new collection campaign. Let’s say we’re a retailer that sells clothes for men, women, kids, babies, and also linens. So we have different products to promote to different targets. We want to make 4 different visuals for our Instagram stories in order to promote our 4 new collections.
- Kids collection: “Playful spring”
- Baby collection: “First sunsets”
- Home products collection: “Home details”
- Men & Women spring collection: “About blooming”
To do that, we will :
- Create a template on Abyssale
- Create and set-up a Google Sheet with our content variations
- Automate the image creation process on Make (formerly Integromat)
These steps will enable us to generate images automatically when we add new content to a Google Sheets.
#1 • Create a template on Abyssale
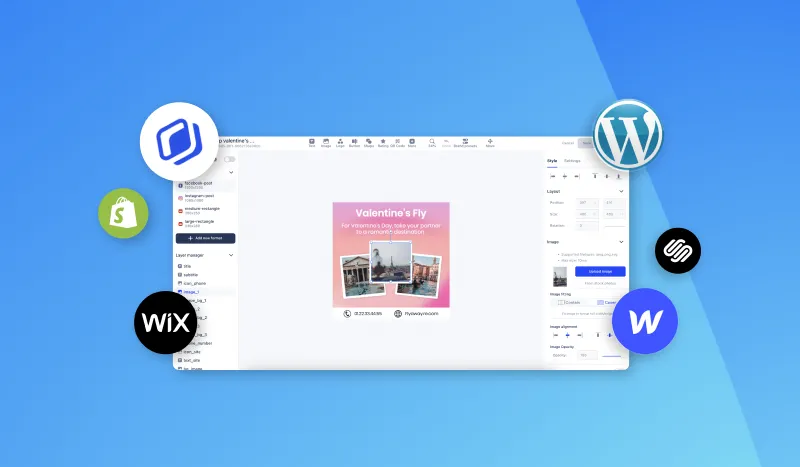
Design
First thing first : We choose the right format for our template. Then, let’s design our Instagram story on Abyssale. That’s the creative part but we want to make sure we create a visual that will work for all 4 of our collections.

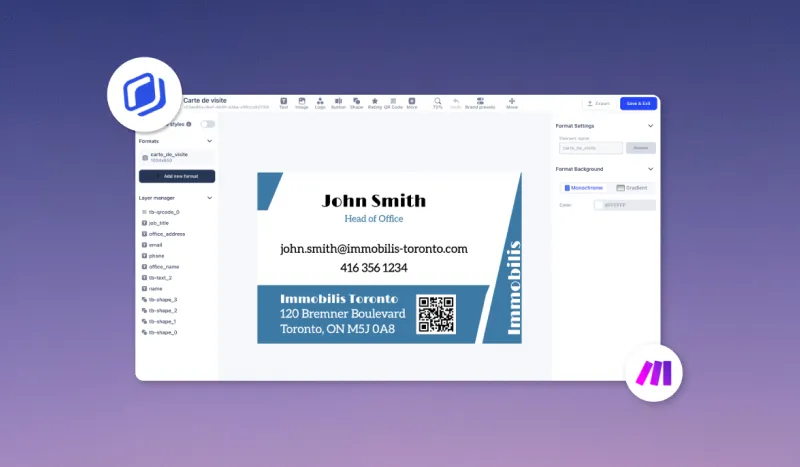
Template prep for automation
After designing it we want to prepare our template for automation, so first we name our layers correctly

On the right sidebar of the template editor, the Element name section can be personalized. The goal is to easily identify the layers you'll want to input content in during the image automation process in Make (formerly Integromat). In our example we have renamed:
- The first text element with “text_title”
- The second text element with “text_description”
- the picture element with “image_bg”
As it is these elements that will change according to our different campaigns (men, women, kids, baby home).
Our final step of preparation is to make sure we named our template correctly and save it!
#2 • Google Sheet creation
Now we have to define all of our visual content variations in a Google Sheet.
Here we create a column for each element that will change: Background, Title, Description, Image. And then we create a row for each visual variation: Home products, babies, kids, men & women

In the Background column, we choose to keep the same color (but you can choose different ones).
In the Title column we put the name of our different collections
In the Description we wrote our different messages for each target.
In the Image column we put the URL of the different images we chose for each visual. If you are using a CMS like Shopify for your store, you can get the URL of one of your images in your Shopify media library or product page.
Finally, we create one more column, an empty one, for the image generation (here in green). It is in this column that the images will be generated by Make (formerly Integromat).

3. Generate images with Make (formerly Integromat)
#3.1: Scenario start point
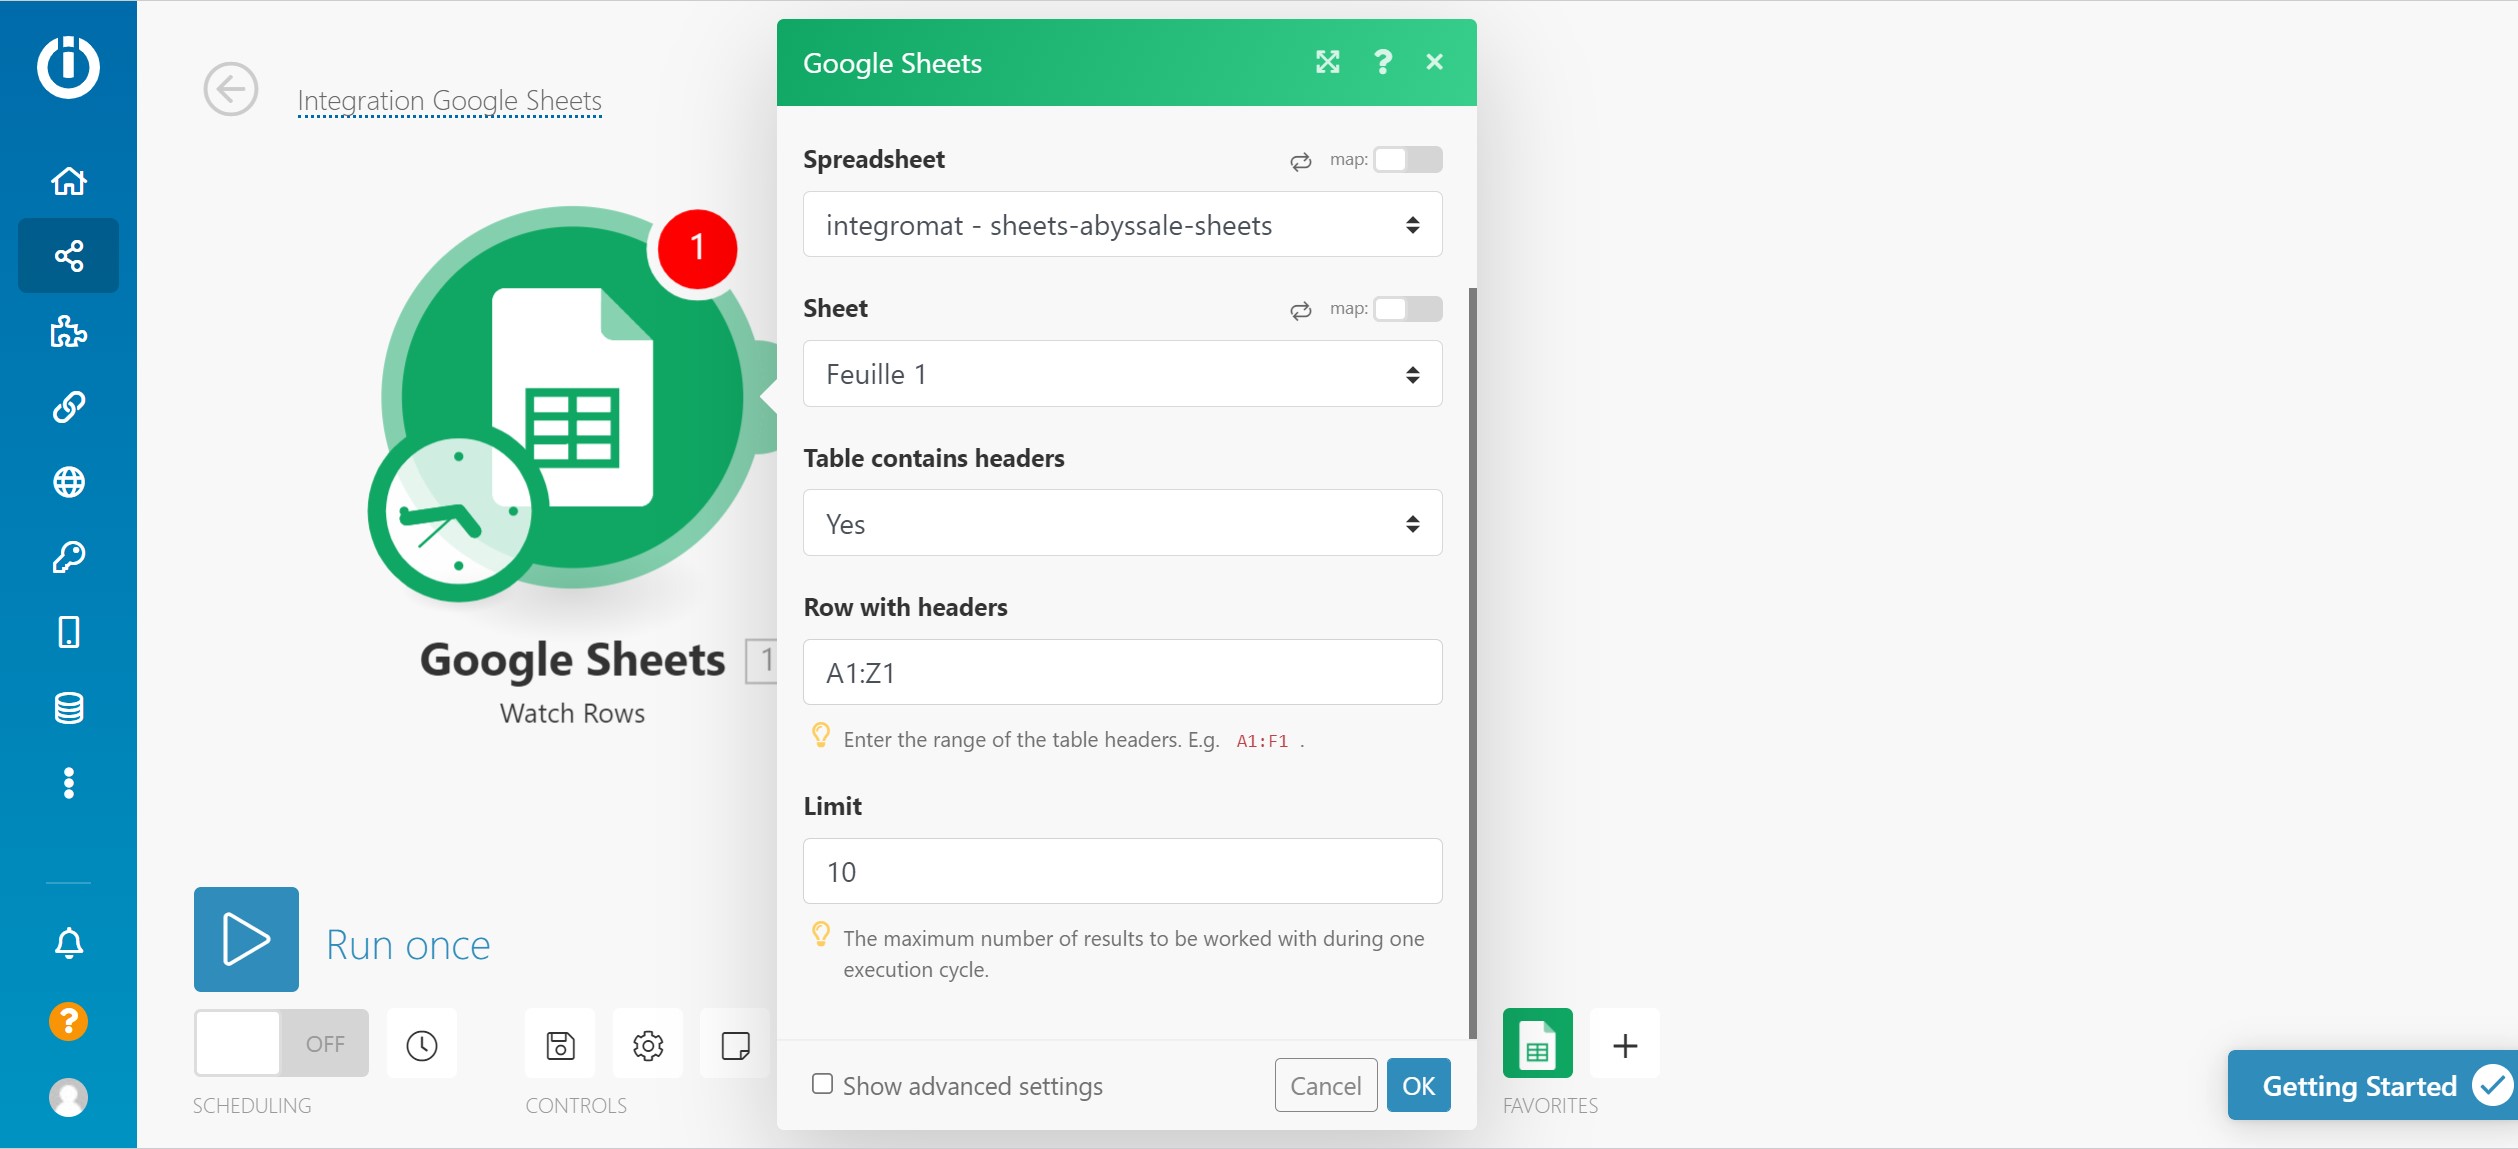
On Make (formerly Integromat), we create a new scenario in which the first module is a Google Sheets “Watch rows”. We just have to connect our sheet and fill in the information needed.
#3.2: Module 1 : Abyssale • Generate banner from template
We then create the first module to generate images from our Abyssale template.
By clicking on the "+" button, we choose the Abyssale Make app and the “Generate banners from template” action.
We connect our Abyssale account and our previously created template named “Integromat - sheets-abyssale-sheets”. This title is quite boring for the sake of this tutorial but feel free to get fancy 🕺
Now, this is the important part: we have to match each of our template layers with the data fetched in our Google sheet.
To the image-bg layer we link our “Image URL” column
To the text_title layer , we link our “Title” column
To the text_description layer we link our “Description” column … and so on.

#3.3: Module 2 : Update Google Sheet row with the generated image
The last module we'll create is a Google sheet again, but this time we will choose the “Update row” function.
Once again we connect our spreadsheet and fill in the necessary information.
First, don't forget to input the "row number" data fetched at the beginning of the scenario so that Integromat knows where to input new data.
Here the aim is to automatically fill the “image generation” column which is for the moment empty with the link to the image generated by abyssale. So in the “image generation” field, we choose the image URL from Abyssale, so that it will input the URL of the image generated from a row's content.

#3.4: Test your scenario
To see if everything is going according to plan, we'll manually launch our scenario for a test run. Just click on “Run once” and you should see when going to your google sheet that the last column “image generation” on your is now filled with different URLs.

These URLs are the different variations of your visuals and represent here our different Instagram stories.
#3.5: Scenario scheduling
The final step is to schedule this automation. On our first GSheet module, there is a green clock pictogram. When clicking on it we can schedule the auto image update. This will tell Integromat when and how often to watch for new content in our Google Sheet, and therefore, to run the scenario we just created.

For our tutorial, let’s say that we schedule all our Instagram stories for the following week on Fridays. So we will prepare our content earlier in the week and ask Integromat to launch the scenario every Friday at 5PM. That way you just have to go back to your Google sheets after 5PM and just download your images.
To do that, in the schedule options let’s first choose “Days of the week” and then “Friday” before setting the hour of execution.
#4 • Get your generated images in Google Sheets
After your test run, you should see that all the images links are well present in your google sheet. We had 4 rows, so that's 4 images generated. As you can see here, all 4 titles, descriptions, and images have changed while respecting the design of our Abyssale template and the sentences written in our Gsheet to address our different collections (Baby, Home products, kids, men & women spring collection).

Now you just have to input your content in Google Sheet during the week and just go back to your file every Fridays at five to retrieve your generated images.
To download those images you have 2 options :
- Either click the link of the image inside your google sheet and download it by right-clicking it inside your browser window
- Or, if you're feeling fancy, you could add an "HTTP" module to Integromat to get the image URL and download the file before sending it wherever you need
That's it for our tutorial ! Maybe you could also give a read to "how to create


%20(9).webp)