Send personalized images in Mailchimp emails
Hyper personalize your emailing campaigns using Mailchimp dynamic images! Add your merge tags to a simple dynamic image URL and let Abyssale do the rest.

Bonjour!
Nowadays, if you have information that could help other people in your domain, share it! Whether it’s a masterclass or a more developed course, our advice is that you make it available. And provide proof ;)
Truth be told, a course without a certificate is more likely to be abandoned than vice-versa. So, if you’re in a situation where you provide an online course but you find it a hustle to generate certificates, we have the solution for you.
Abyssale allows you to generate custom certificates for your online courses and it only takes a few minutes and a couple of clicks to get them.
The past 2 years, online schooling and course certifications have bloomed. Change was imposed by the sanitary situation, but also long due. More and more people add online courses and certifications to their resumés and LinkedIn profiles, because traditional education simply isn’t enough anymore.
Udemy, Coursera, OpenClassrooms, are names you are all familiar with. Who hasn’t started an online course because they just had to have those “SEO Skills” they always wanted but that are never taught in any business school, ever. Other platforms, such as Hubspot or SemRush, that are not dedicated to online education, also provide courses and certifications.
Nonetheless, abandonment rates for online classes are surprisingly high. According to a 2019 study called “The MOOC Pivot”, carried at MIT, abandonment rates for online courses averaged at 96% over the past five years!!! The main reason why people don’t finish a class is that they lack interaction and at some point, even though the information is interesting, motivation just disappears.
More to it, completion rates are almost exclusively limited to courses that offer certificates. So, if you’re providing an online course but no certificate, you’re missing out.
The first thing you have to do is connect to your Abyssale account. So far so good.
Next, you’ll want to create a category that is dedicated to generating certificates. Go to "My templates" tab and click on "Create a new category". Let’s name it “Certificates”, to avoid all confusion.
Before you can add anything to your category, you must create a template. You will use it to generate all future certificates. Use these simple steps to create your template:
At the moment, there is no Predefined format to generate certificates so we suggest you create a custom format.

Small tip : If your custom certificate is destined to be printed, maybe aim for a higher resolution like 2000 px width and 1520 px height (yes, some people still like their printed diplomas)
Once you’re in the editor, you can upload your visuals that will stand as a certificate for your class or you can build it directly in the editor using the tools at your disposal. For the sake of this tutorial, we’ll use a template from our public library
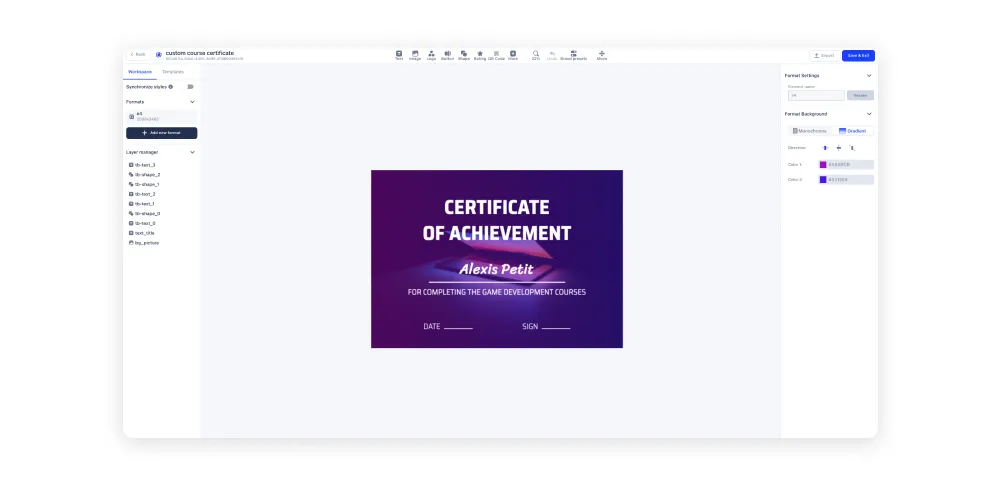
On the top grid, you can personalize the banner as much as you like. Add a logo, a button or even a text zone.
To have a custom certificate for all your graduates, you must, of course, add some personalized information. If you design your own, you might want to add 3 text layers (Name, date and location for example). Once you're happy with your design, click on "Save & Exit".
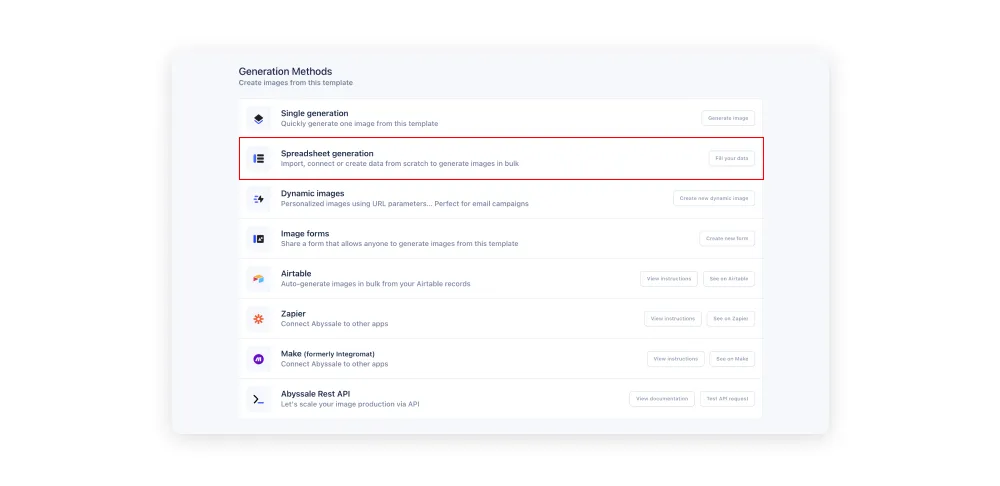
Once you have created your design, you can start generating your custom certificates.
Scroll down to see all our Generation Methods and select the Spreadsheet generation by clicking on "Fill your data".
Then, add a name to the task and select "Create from scratch". You could also choose the .CSV import and add your csv file.

We opted to do a step-by-step on the Create from Scratch option, as the others depend on your data volume and integrations.
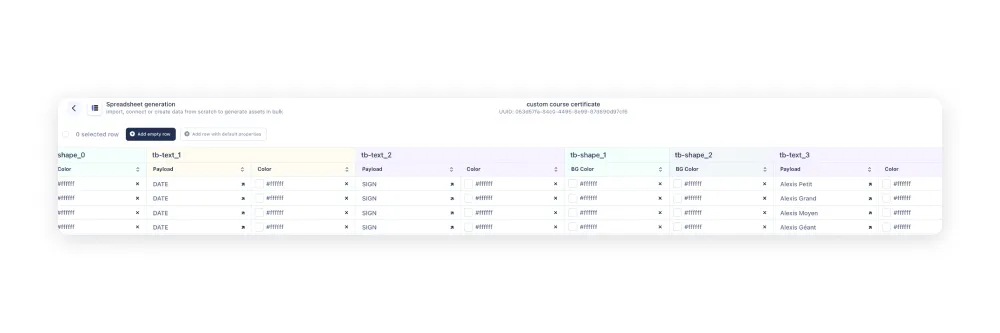
After that, you will be redirected to the page where you can start generating your custom course certificates.
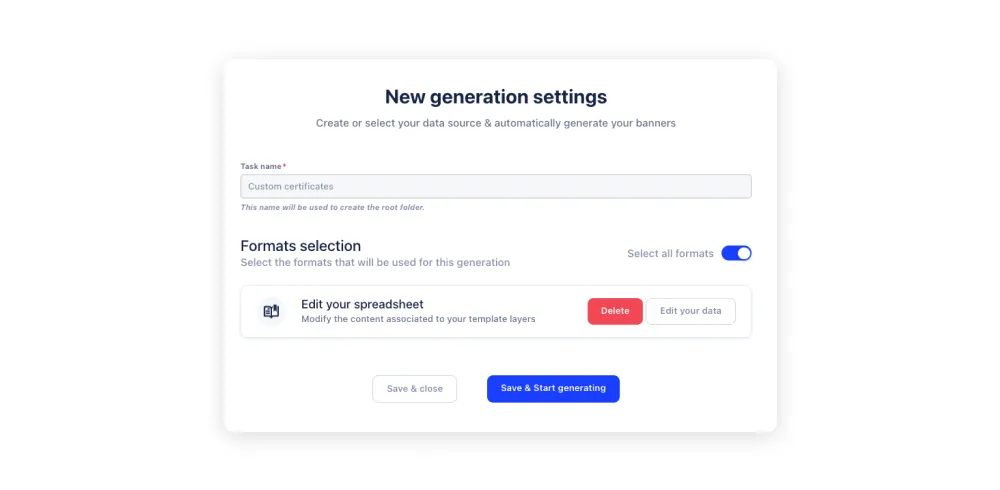
Name your task and click on "Save & Start generating"
After you click on Save & Start Generating, your custom certificates will start generating. Scroll down to see all your Spreadsheet generation tasks.

Click on "View banners" to see your generated certificates.
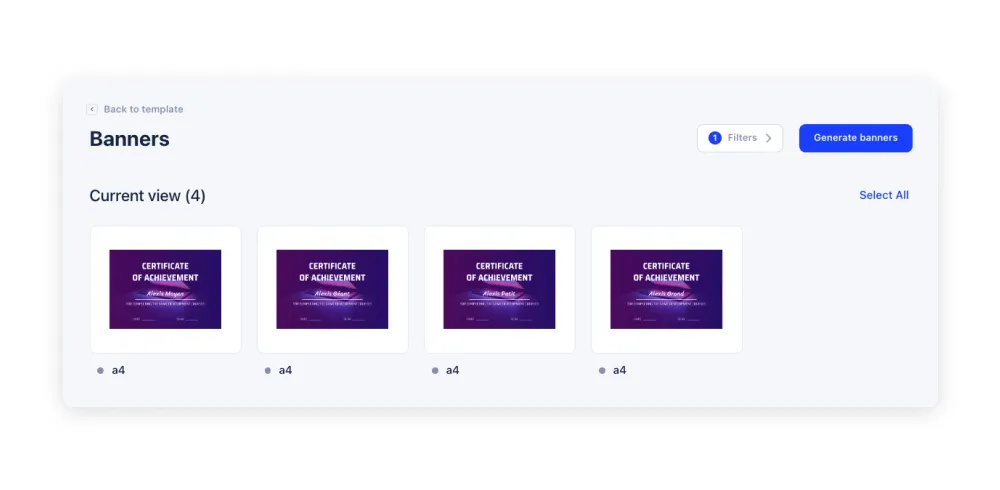
To export them, click on "Select all" and then on "Export".
There you have it! You managed to generate custom certificates in a few easy steps.
We hope it will bring extra value to your online class.
To keep up with Abyssale's new features, join our LinkedIn community!
Explore our guides and tutorials to unlock the full potential of Abyssale's spreadsheet feature for scaled content production.