Send personalized images in Mailchimp emails
Hyper personalize your emailing campaigns using Mailchimp dynamic images! Add your merge tags to a simple dynamic image URL and let Abyssale do the rest.
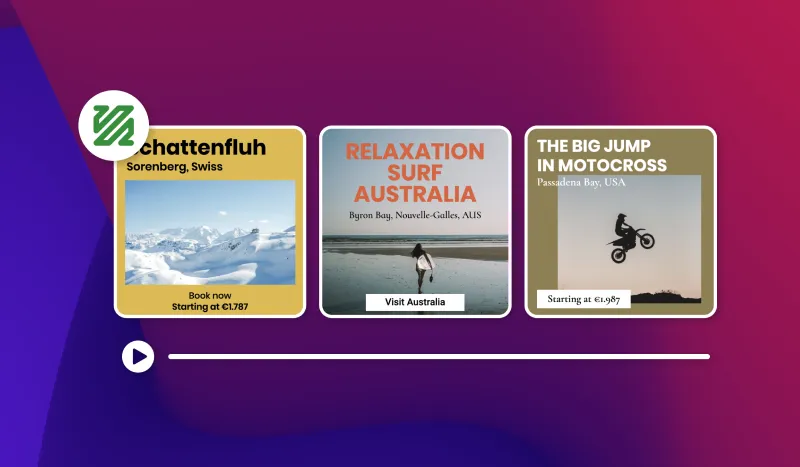
It's often said that a photo tells a story. In this case, we can say that slideshow videos from photos tell real novels.
Slideshow videos display images or videos one after the other, with smooth transitions and, where appropriate, music. These videos are often used on networks to tell a story.
In this tutorial, we'll show you how, using FFmpeg, you can create a slideshow video from images.
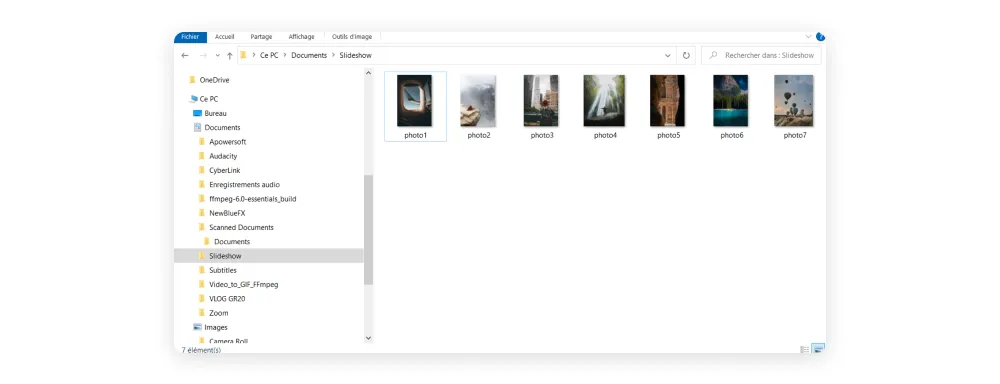
Before getting to the heart of the matter, you need to select the images you want to appear in your video.
For our example, we'll choose 7 photos, which we'll name "photo1", "photo2", "photo3" and so on. We'll store them in the following directory: C:\Users\Utilisateur\Documents\Slideshow
Once you've selected and arranged your photos, you're ready to get started. Well, almost.
If you haven't already done so, install FFmpeg on your computer. You can download it from the official website: https://ffmpeg.org/
Once done, there are just three steps to follow to create your video.
Open the command prompt on your computer. To do this, simultaneously press "Windows" and "R" or "Command" and "R" on Mac, then type "cmd" in the conversation bar.
Pressing "Enter" will open the command prompt.
Now navigate to the directory where your images are located. To do this, use the command "cd" followed by the path to the directory.
In our example, we'll type the following command:
cd C:\Users\Utilisateur\Documents\Slideshow
⚠️ Make sure to replace "User" with your real username.
It's already the last step! (It's also the longest if you decide to modify certain parameters).
All that's left is to create the video slideshow.
For our example, we want:
We'll type the following command:
ffmpeg -y -framerate 1 -i "C:\Users\Utilizer\Documents\Slideshow\photo%d. jpg" -vf "scale=w='min(1080,iw1920/ih)':h='min(1920,ih1080/iw)',pad=1080:1920:(1080-iw)/2:(1920-ih)/2,setsar=1" -c:v libx264 -r 30 -pix_fmt yuv420p output.mp4
Once you've run the command, FFmpeg will process the images and create a slideshow video named "output.mp4" in the same directory. This may take a few minutes, depending on the size of the video and the power of your computer.
Your video is now ready! (If you want to set up your video slideshow differently, we'll explain the different parts of the command below. All you have to do is modify them).
To enable you to modify the parameters to obtain the video slideshow you want, here are the details of the different parts of the command:
Once you've modified the parameters to suit your needs, you can automate the process and repeat it as many times as you like. This allows you to create slideshow videos with just a few commands in the command prompt.
To go a step further and add subtitles to your video, for example, we invite you to read our article "How to add subtitle to your videos with FFmpeg?"
However, if this tutorial seems difficult to implement, or if changing the command parameters scares you, there's always an alternative solution: you can use a video generation API like Abyssale.
Explore our guides and tutorials to unlock the full potential of Abyssale's spreadsheet feature for scaled content production.