.jpeg)
How to create HTML5 banner ads without coding
Discover how to create HTML5 banners without having to code. Learn how to create HTML5 banners with a dedicated banner maker software.
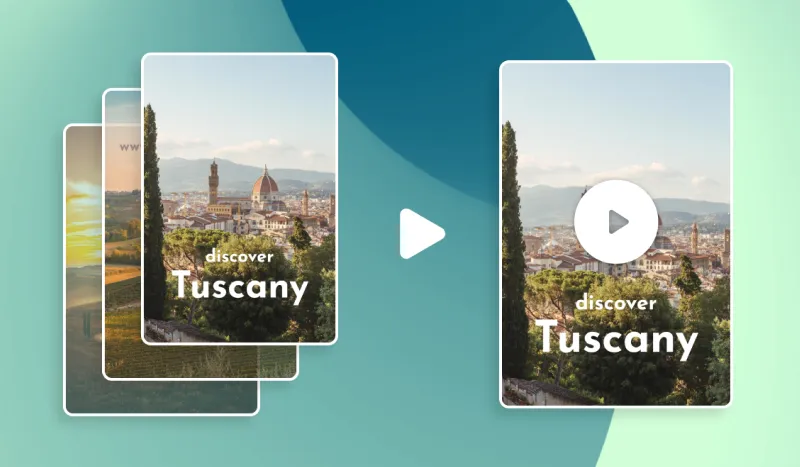
In this article we will see how to create a video from images thanks to the power of FFMPEG. It can be very useful to auto generate video content for various use cases : e-learning, tutorials or even Instagram stories ! This will resemble something like this :
To combine easily different images into a single video, we need to ensure that all our images have the same width and height as our final video, are in the same folder named pictures and named in order according to a specific pattern like 001.jpeg, 002.jpeg, 003.jpeg, etc
In that example, we choose to generate a .mp4 video with the libx264 codec (most common).
Let’s see how we can use FFMPEG to turn a sequence of images into a video :
Let's explain this command in details :
Remember, we went from this :

Generate this video :
And voilà! You now know exactly how to generate a video using a sequence of images and FFMPEG. Note that if this tutorial felt a bit complicated and you'd like to use an API or a full blown SaaS to do this operation, you can use an auto video generation tool to do so. Those are especially useful when you need to generate videos in large volume or combine images into GIF or video at scale.
Explore our guides and tutorials to unlock the full potential of Abyssale's spreadsheet feature for scaled content production.
%2520(17).webp)